Showing posts with label Aunt Kelly. Show all posts

Monday, November 4, 2013

Run Happy

This weekend my BFF was in town.  It was a quick Halloween visit, but honestly they are all too short.  She is a big runner and needs someplace to hang all her medals.  Usually she likes to "steal" random projects from around my house, but this time we did something just for her.

A wooden plaque from Michaels ($10ish) that the boys painted and some cup hooks ($3ish) from Lowes.
Then I printed out "Run Happy" which is from a quote she likes..traced it on to the board and colored it in with permanent marker.  Added the cup hooks and hanging hardware to the back.  All done!
Easy peasy organizing project!  What's the easiest project you've ever done?

Monday, October 8, 2012

Weekend Wrap Up-Wreath Chronicles

Awhile ago when my BFF was in town we made some  hair bows and wreaths.   I started this wreath making weekend by creating a wreath board on my pinterest page . That way she could choose what we were going to do and I could gather supplies before she got here.  She chose this Halloween one:
Originally from Jamie at Something To Do. This is her picture and the wreath is so pretty and full and perfect.

Before Kelly arrived, I read Jamies tutorial and of course got to work deciding how we would make ours.  Maybe Jamie is like me and knows there are a gazillion tutorials for anything you want to make and she didn't feel like writing another one.  I certainly wouldn't blame her!  I didn't know what size hoop she used or if she used all of that 12 yards of tulle she bought. 

Here is my brief tutorial: I bought 1 10" wooden embroidery hoop (however, if you look closely at Jamies embroidery hoop, I doubt it's 10"...oops, you will see why this mattered...keep reading) for $1.59 (now I had 2 wreath forms!) and 12 yards of black tulle from Hobby Lobby for $3.99.  While I was casually perusing busting butt to get through there with my 3 children, I wasn't thinking and only bought one roll.  Another day was I was in Hancock Fabric and they had shiny black tulle!  How fun!!  10 yards for $3.99.  I spray painted my embroidery hoops black for any see thru.

When Kelly got here we were ready to get down to business..there may have been some wine involved.  
I wrapped a piece of tulle around for measurement and landed on 14" for cutting the pieces. Why 14"? Why not? This stuff was full of glitter...By the end of cutting we looked like 2 teenagers that had been to see New Kids on the Block Big Time Rush.

We got to wrapping.  Alternating 1 piece of black sorta glittery  and 1 really glittery piece of tulle.  When we were done with 24 yards of tulle this is what our wreaths looked like
Oops! That word comes up a lot. Don't fret. We made our way back to Hobby Lobby and Hancock. 2 more sorta glittery and 2 more really glittery. We came back, cut and started wrapping again... We used alllllll the tulle. But we were really pleased with how they turned out! Thanks Jamie for your inspiration!

Our totals were 36 yards of sorta glittery and 30 yards of really glittery (of course you would not need this much depending on how big your hoop was or how big your tutu is). 1 black embroidery hoop. A tiny bit of black spray paint. A few feet of orange satin ribbon. A couple of hours and a bottle of wine....WITH your BFF.  Life doesn't get much better!

I plan on making one similar for our big celebration in December.  Little Miss turns 1!  Stay tuned!

I'm linking up with Coastal Charm, A2Z, & Savvy Southern Style

Tuesday, August 28, 2012

Weekend Wrap Up- It's football season!

My BFF is like most of my friends.  She is extremely creative, talented, motivated and hardworking (not to mention smart, beautiful, and brings joy to my life).  These girls love a new and fresh idea (or one shared 110 repins later on Pinterest), but they always leave it to me for execution.

Once she bought her ticket to come visit, she decided we needed to make a wreath (or 2 or 4).  We both wanted a football one since football season is upon us (as much as I LOVE a good football game, my husband,  makes his weekend schedule around who is playing and when).  And IF it happens to be East Carolina, you can guarantee he is unavailable for the any pregame, the entire game, and any amazing highlights any network decides to share after.  And if they don't he will probably check you tube to catch anything he may have possibly missed if he so happened to blink.  Thankfully, I went to East Carolina as well, so I share a smidge of the spirit that he does. 

I made a wreath board on pinterest, for Kelly to look at of my faves. We decided on the rag wreath that Krystal at Sassy Sanctuary had done. Here is her picture.
After reading her Halloween rag wreath tutorial (which is really good, so I don't have too..woo hoo), I went out and started looking for fabric. She used 8 yards (4 patterns/2 yards each). Since we would be doing purple and gold I went for 1 yard of each (and I have LOTS leftover). But I did cut my strips the same (6"x1") and double knotted (as she suggested)!

My absolute favorite football wreath I pinned was the houndstooth Alabama one. Just because I don't think there is a pattern better than houndstooth!! But when people come over and ask me if I went to Alabama it might be a little awkward to say no.

I do think ours is a little on the light side, because I used fabrics with a white background (ie the argyle) but I went for fabrics I liked, not just color. And I would not buy the licensed ECU fabric again. It's higher priced AND you can't see it! I do love our football pin that we made. Overall I think this wreath is super cute and I can't wait to hang it on my front door! Kick off is Saturday! Here's a little Pirate Pride video to get you pumped up...it's on a constant repeat feed at our house!
Half way done!  Kelly went around and I did section by section.
Yellow Pirate
Purple Pirate

Thanks Krystal for the inspiration and the excellent tutorial!
Linking up with Beth at A2Z & & Wow Us Wednesday on Savvy Southern Style!

Monday, August 27, 2012

Abra Bowdabra

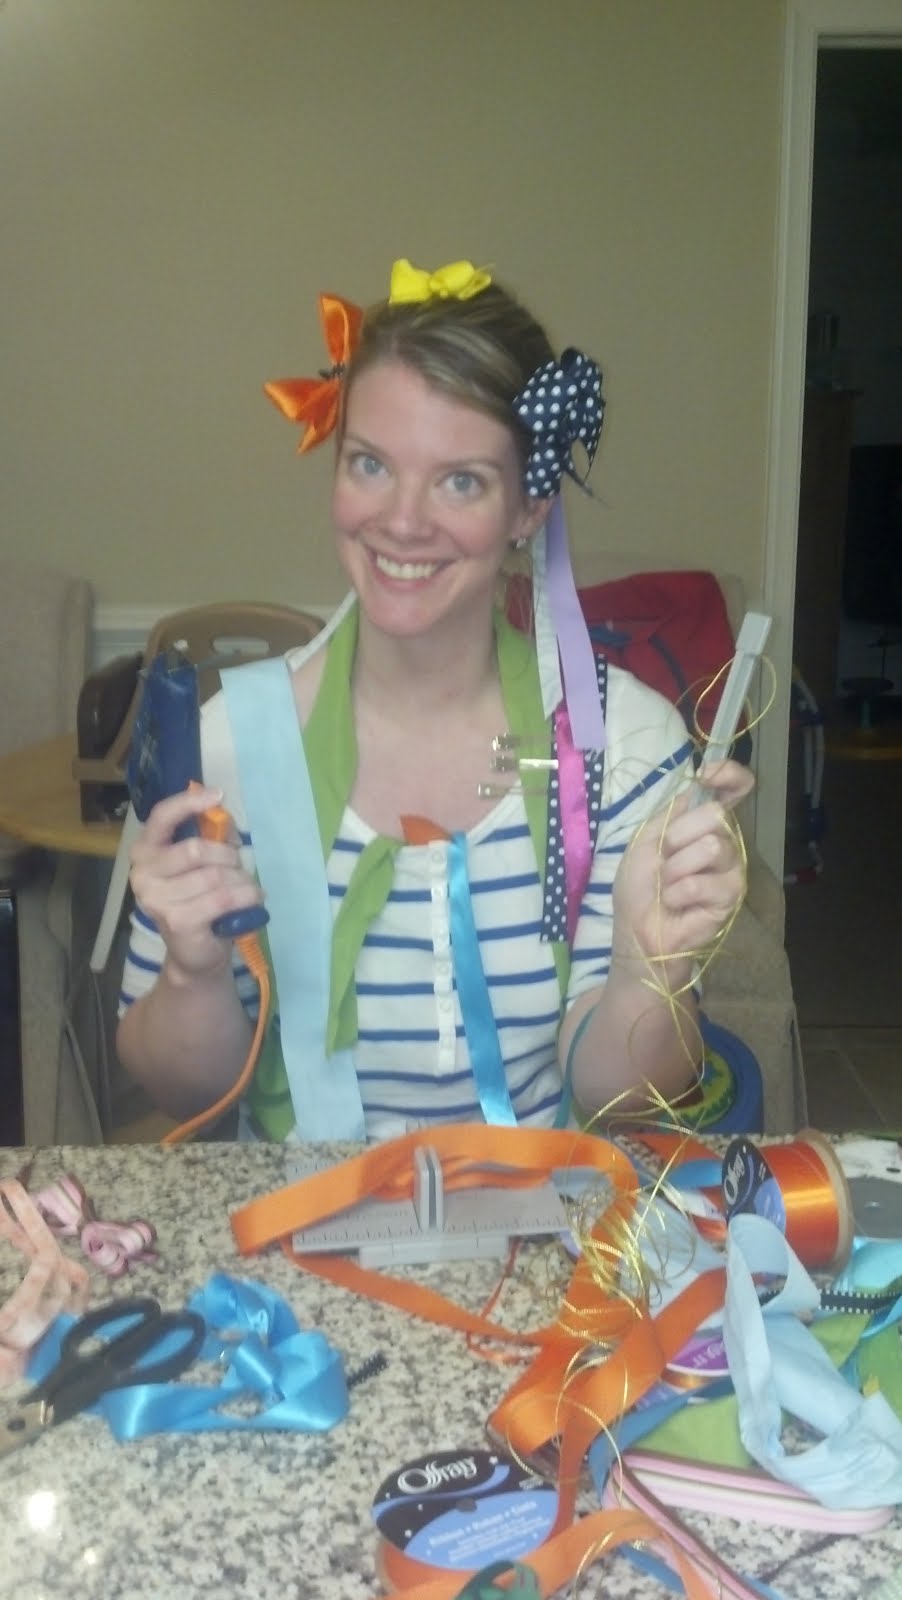
My BFF & I tried out the Bowdabra this weekend. 

We started on Thursday night.  We were so excited to make Little Miss some bows!  And then we were so frustrated (this might have resulted from not watching the instructional DVD that was included) that we ended up putting it away until Sunday night (we were busy doing other things trying to impress Martha).

Still refusing to watch the DVD, we thought a little Fat Tire and Cakebread would help us instead. 
It got ugly.  Very quickly. Small pieces, slippery ribbon, hot glue gun, bows that were too big, too small....Martha would not be pleased.

According to Kelly the BOWdabra is BOWlogna
Looks like we have something else to shop for on Etsy!

Friday, August 24, 2012

A visit and a coupon!

I don't coupon much, ok rarely.  I always use my baby coupons and a Michaels coupon.  Because they are always around!

But check out Michaels deal for today and tomorrow! 15% off everything including sale items!! I LOVE it when they do this (sometimes it's 25%)!

My BFF is in town and we are making some wreaths. It has nothing to do with my One Word Wednesday, I'll explain that on another day!

And apparently we are also making some bows. Because someone bought a bowdabra. Break out the wine.

Tuesday, August 21, 2012

Pour some sugar

Remember these beauties


I blogged about them here when I first got them. I was so excited. Needless to say they took a lot more work than I thought they would. Those beautiful painted flowers & fruit would not come off! I decided to make the "chalkboard" go all the way around the jar. I cleaned, prepped, painted, personalized....and my best friend took them home with her.
The greenery you see is the inside (behind the paint). I don't have a picture of them filled, since they traveled by air back to FL, we decided it was best mot to fill them! Hopefully she is enjoying them as much as I am missing them. I'm sure she is excited to come in a few days and scout out what she will take back this time.

And you are welcome for the Bon Jovi brain worm! Check out some other fun tips and tutorials over at A2Z

Thursday, January 12, 2012

Curtains!

The boys curtains went up, which seems like it took forever. However, it took me much longer to write this post! I shared the inspiration in this first post about their room.

First I knew I wanted white curtains. Then I found these:
Source via Pinterest
I have been using navy as an accent so I knew I wanted to use navy at the bottom and not red. And they would be hanging on a red wall. Curtains are from World Market. Found some navy fabric at JoAnns Fabric and my seamstress amazing mother, measured, cut and hemmed them!

Then I found this curtain rod
Source
So creative! Kind of nautical. Seemed so easy! Easy until I went to execute the design. Aunt Kelly and I went to Lowes to pick up all our plumbing supplies. Since we didn't have any directions, we were going off the picture and the grommet holes on the curtains. Things were going well until we picked up the rod itself. It weighed at least 10lbs (for the length of 2). We went and looked at anchors. Big, strong, massive wall anchors that were going to be strong enough to hold a four and two year old swinging on them! Then we asked an associate where the wall anchors were if there was another solution for the rod. He suggested electrical conduit. This was great because the rod was lighter and CHEAPER!! Woot!

And then we went to put them up. One of the elbows was missing some thread. Ugh....I have two small children and I was pregnant and now I was having to go back to Lowes at Christmas.....Ahhhhhh!! But I was so excited about these curtains and how they would look! I will say that hanging them was a lot more work than regular rods (heavier and they have to be done at once, not a braket at a time), they were about $30 for each window (about the same as a regular curtain rod) and curtains can not be washed as easily. You will have to take off the rod itself, unless you got curtains that tie. But I was worried that would not fit my look! Thanks to the hubs and his muscles for the hanging part of this project!

I think they look awesome, if I do say so myself!
Soon I'll get some shelves up and a final room reveal!! I know, I know, you can't wait! Believe me, I can't wait to have it done!

Other Boys room projects:
Inspiration
Nautical Flags
Artwork
A Dresser
A Dresser Reveal