On Oct 24th, I gave you
this sneak peek of a project I was going to be working on. I was so excited and really did get started fast. I knew it was going to be a big project but I had NO idea I wouldn't be blogging about it's finished phase until a month later?! Keepinitreal. I gave you a finished sneak peak
here.
This post is photo heavy and wordy. Honestly, I should have broken it up into pieces. Which is exactly what I had to do to get through it on this end!
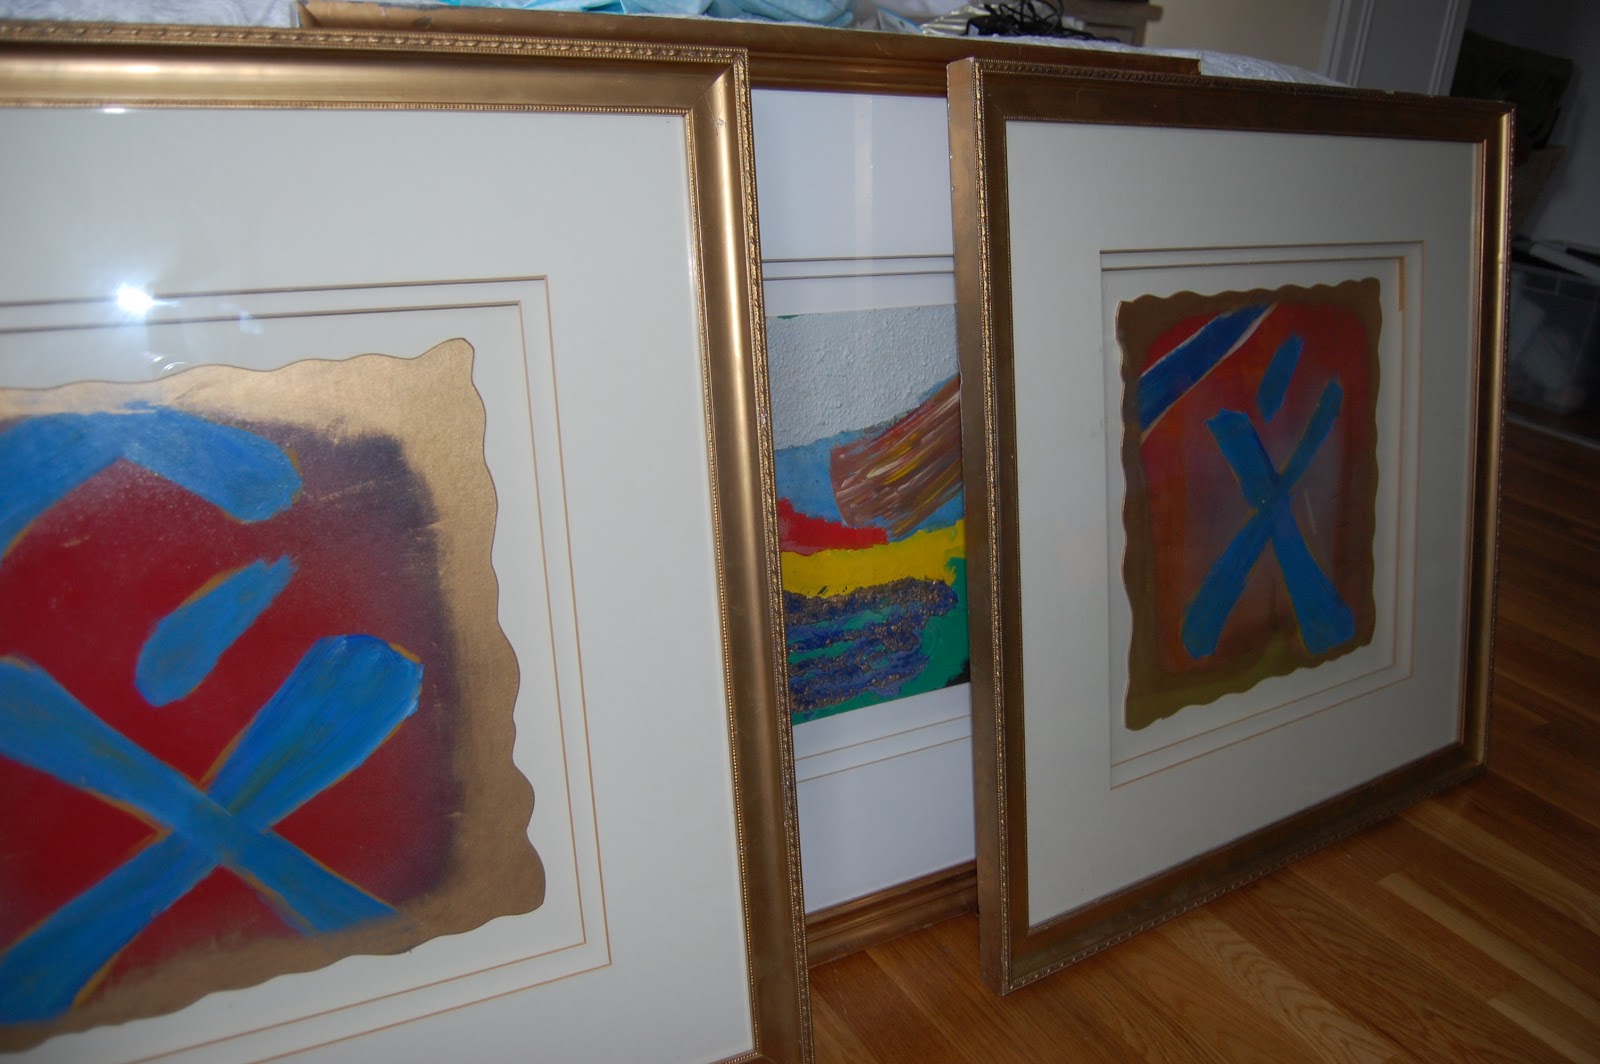
Here is where I started. Three free frames. I used to be a manager at a department store & the visual manager was going to throw them away. Say what? Three huge frames?! I don't think so. I knew exactly what I wanted to do with them. That was in 2008.
They stayed in a closet at our old house and moved to a storage unit and then onto Richmond. Where they have sat in a closet until a month ago! Much to my husbands dismay. He couldn't believe I brought them home, much less moved them! (But it wasn't the first piece I'd brought home. He was also confused when I brought home an office credenza, until I refreshed & re-purposed it into
this bar for our dining room. He should know to trust me!)
I started by taking off the paper on the back of all three.
My pantless (prettysurehehasonshorts) design assistant.
There was a ton of glue holding the triple layer of matting in on two of the frames and nails on another...ugh..
I pulled the artwork off the mats and got to measuring some poster board. I originally thought these were going to go in our playroom and was beyond pumped when I found some lime green chevron wrapping paper in the clearance aisle. I didn't think I would ever find that, so I had actually bought some lime green chevron fabric to use. But the paper was SO much cheaper, that I returned the fabric. In the end I just wasn't sure about the space I had planned. It was too small. I decided they were going to go in the living room. I needed something LARGE and these were unexpected. I hung up paper the size of the frames to get an idea for their size.
These frames are huge. Which means I then had to find a chevron pattern, so I could paint it the color I wanted to match the living room. Thank you google, that was easy.
This was the tedious part. Over and over tracing and tracing. Trying to keep it level from one side to the next. Ugh...
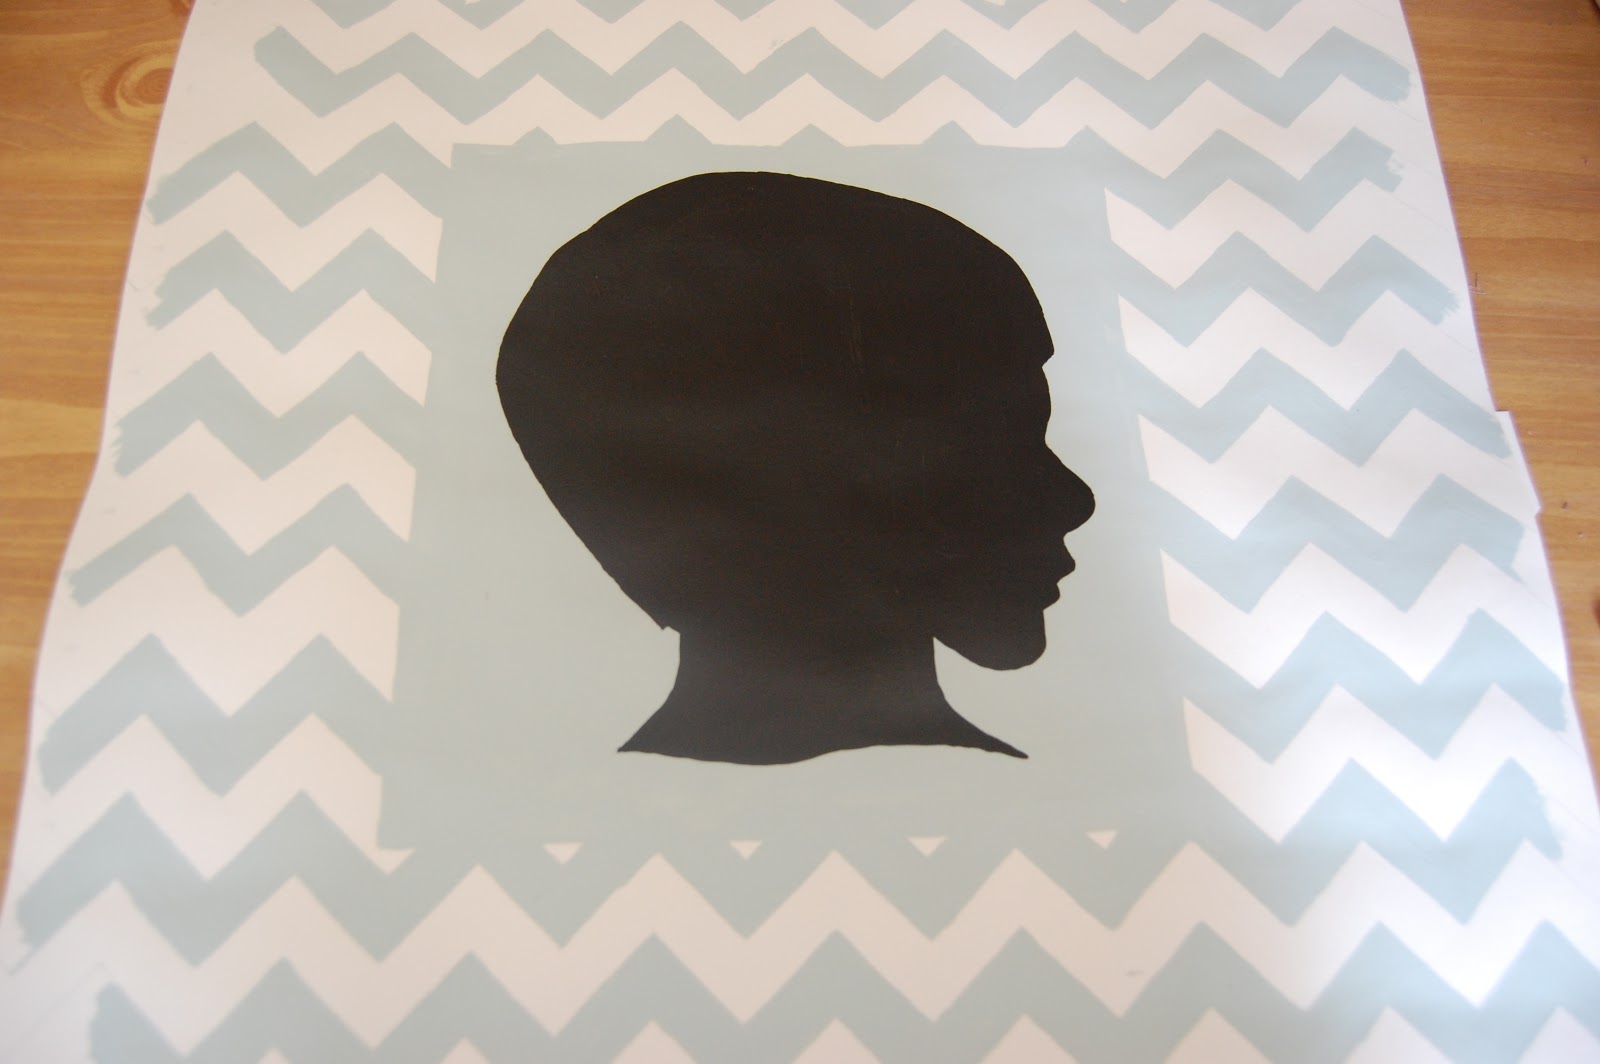
Then I had to decide how big I wanted the center square. The focal point of these frames. Originally I was going to use a 12" canvas, but with the double mat, I thought it was too much. Especially since it was going to be behind glass. Once I decided on a 10" (after a 12" looked too big with the mat on top) square I erased the lines inside the box, in case it didn't paint so well. More tedious work ensued...painting the chevron..with a tiny brush, so I could have nice crisp lines.
Then I painted the square. 10"x10". I felt it was nice and centered and still showed plenty of the chevron once in the mat & framed. I spent a ton of time painting those zig zags, I wanted them to be seen!
Once that was done I took pictures of the kids (I had taken a few months back, so I would be ready!), I printed them out and blew them up so that the image was 8". For all three. I cut them out and traced them onto the poster board. Again, I filled in the lines with a tiny little bitty paint brush. (I did use a bigger one to fill in!)
I learned that silhouettes are hard. There just isn't a lot of detail to them. Like long eyelashes or chubby baby cheeks. I also couldn't do the spiky hair that Little Miss is still sporting. And this chin on Q is way off? I have no idea how that happened!? But that was easy to fix! Yeah for DIY.
These frames were really beat up and very gold.
I had some gold craft paint and I thought it would be really easy to patch it. Then I would be done. D-O-N-E! It was not. The gold didn't want to stick to the frames. So, I thought I could age the bright gold with black.
Too dark. I didn't like it. It kind of looked more dirty than aged. I felt like this project was dragging on and on. I didn't see an end in sight. I had to get my posse of assistants to Lowes to check out the spray paint choices. I chose antique brass. Which I find odd since I have gotten rid of all the brass in the last two houses I've lived in! I thought it was perfect with the dark wood furniture, black frames, and brown rug (and future curtains...another project taking longer than expected!).
I hung the first frame in the tree so I could paint all the sides and see if I liked the color. Which of course I did, because otherwise I would have had to get back to Lowes. I was ready to be DONE. SO ready.
Here they are in all their antiqued brass glory. All the blood (yes there was some..did you see those nails?!) sweat, and tears (maybe some of those too..I was ready to be done!). I LOVE them!
 |
My big boy. All 5 years of him.
 |
My spunky 3 year old.
 |
| My sweet baby girl |
|
|
|
|
 |
| The 3 loves of mine |
Yes, in 2008 I knew I wanted to use these frames and put a silhouette in each. I had one baby and I thought they would go up the stairwell. My how things change. And I am so thankful they have!
I'm linking up! Head over to
Coastal Charm Savvy Southern Style The Thrifty Home We are that Family Raising Homemakers Trendy Treehouse Uncommon Designs House of Hepworths Thrifty 101 Beyond the Picket Fence Happy Hour Projects Finding Fabulous While He was Napping&
A2Z for some other great ideas!


.JPG)
.JPG)