Showing posts with label Savvy Southern Style. Show all posts

Tuesday, December 11, 2012

silver & GOLD

Sorry, you'll be singing that all day!

A week or so ago I gave you this post.  A sneak peek at something I thought was pretty exciting.  It's taken that long to get her finished.  Mostly due to letting her sit outside and let all the spray paint fumes disappear.  I don't need any of that inside!

Let's look at the before:


When I saw this piece at the Goodwill, I fell in love with those monkeys on the side.  But that blue & white just doesn't fit me or our home, so I knew it just needed a little spray paint.  I was thinking white.  Boring, but classic and I could put it anywhere.

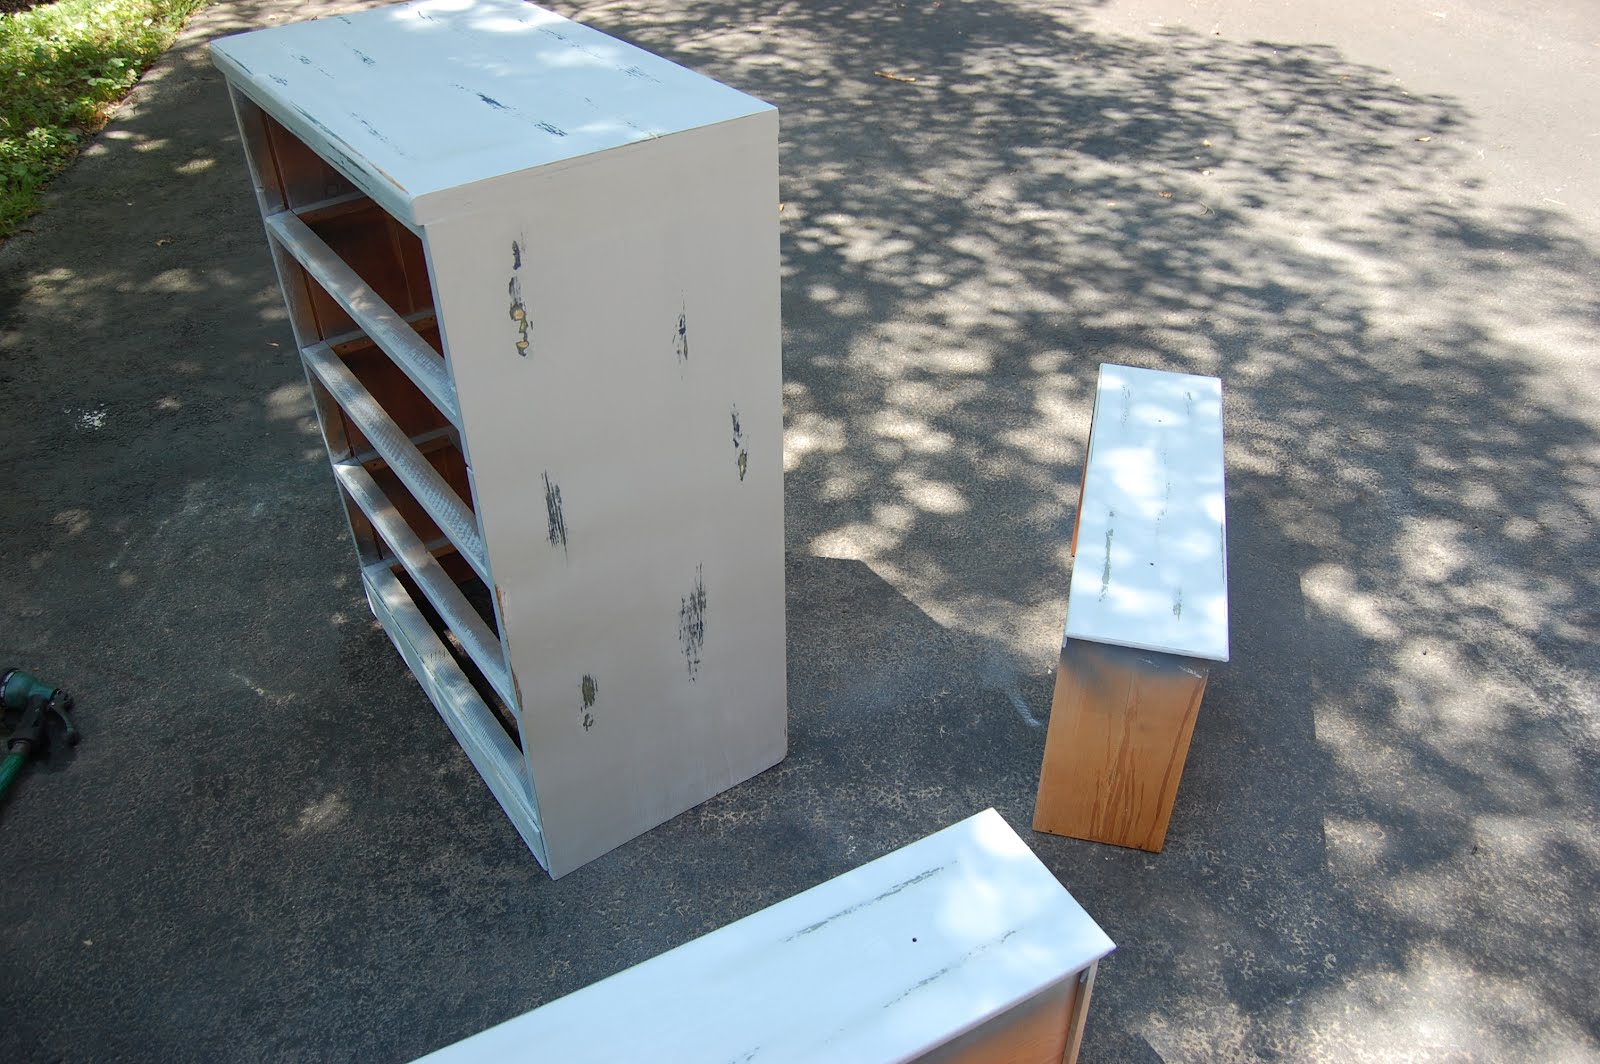
I got some primer, because I knew it was going to take a lot to cover it up.  (Primer cheaper than color!)


That is after coat 3!  I was very happy with my decision to prime white first.  Also, gave me a glimpse as to what it would look like white.

My aunt (who could style a Goodwill to make you think you stepped into a Neimans) suggested gold.  I was immediately smitten and couldn't wait to get her painted.  Gold fits in our house as well as the blue & white, but I knew it would work.  Must be the holidays!


There she is waiting for her Christmas morning coffee.  I didn't bother to style with books or anything fancy.  I could barely get far enough away to take the picture before being photo bombed by an almost 1 year old!

Paint is Pure Gold by Rustoleum (Home Depot).  Lowes did not have a decent metallic gold paint?  Wierd but true.  


This gold post has perfect timing!  I'm working on a give away for you guys.  It's shiny!

Linking up with Happy Hour Projects Funky Junk Interiors, The Thrifty Home, Maybe Matilda, Two Twenty One, Coastal Charm, Savvy Southern Style, A2Z, Newly Woodwards, Decor and the Dog,  & House of Hepworths


Monday, October 8, 2012

Weekend Wrap Up-Wreath Chronicles

Awhile ago when my BFF was in town we made some  hair bows and wreaths.   I started this wreath making weekend by creating a wreath board on my pinterest page . That way she could choose what we were going to do and I could gather supplies before she got here.  She chose this Halloween one:
Originally from Jamie at Something To Do. This is her picture and the wreath is so pretty and full and perfect.

Before Kelly arrived, I read Jamies tutorial and of course got to work deciding how we would make ours.  Maybe Jamie is like me and knows there are a gazillion tutorials for anything you want to make and she didn't feel like writing another one.  I certainly wouldn't blame her!  I didn't know what size hoop she used or if she used all of that 12 yards of tulle she bought. 

Here is my brief tutorial: I bought 1 10" wooden embroidery hoop (however, if you look closely at Jamies embroidery hoop, I doubt it's 10"...oops, you will see why this mattered...keep reading) for $1.59 (now I had 2 wreath forms!) and 12 yards of black tulle from Hobby Lobby for $3.99.  While I was casually perusing busting butt to get through there with my 3 children, I wasn't thinking and only bought one roll.  Another day was I was in Hancock Fabric and they had shiny black tulle!  How fun!!  10 yards for $3.99.  I spray painted my embroidery hoops black for any see thru.

When Kelly got here we were ready to get down to business..there may have been some wine involved.  
I wrapped a piece of tulle around for measurement and landed on 14" for cutting the pieces. Why 14"? Why not? This stuff was full of glitter...By the end of cutting we looked like 2 teenagers that had been to see New Kids on the Block Big Time Rush.

We got to wrapping.  Alternating 1 piece of black sorta glittery  and 1 really glittery piece of tulle.  When we were done with 24 yards of tulle this is what our wreaths looked like
Oops! That word comes up a lot. Don't fret. We made our way back to Hobby Lobby and Hancock. 2 more sorta glittery and 2 more really glittery. We came back, cut and started wrapping again... We used alllllll the tulle. But we were really pleased with how they turned out! Thanks Jamie for your inspiration!

Our totals were 36 yards of sorta glittery and 30 yards of really glittery (of course you would not need this much depending on how big your hoop was or how big your tutu is). 1 black embroidery hoop. A tiny bit of black spray paint. A few feet of orange satin ribbon. A couple of hours and a bottle of wine....WITH your BFF.  Life doesn't get much better!

I plan on making one similar for our big celebration in December.  Little Miss turns 1!  Stay tuned!

I'm linking up with Coastal Charm, A2Z, & Savvy Southern Style

Tuesday, October 2, 2012

BAM!

*Disclaimer: Keep in mind this was for a rental house at the beach.  My personal house isn't covered in one "type" of art.  Which is fine, I just happen to like a little more variety.

Big impact.  Little money.  We all like that right?  Well, many of us do.  If not Pinterest would not exist.  It does.  In a huge life changing way.  Back to the art work.

I started by sharing this post & this picture of my Salvation Army frame score:
Some of the projects I shared with you:
3tier hanging frame.  Total project $1.25
And the mirror:  Total project $5.25

And then I did a few, too simple, to even blog about (I know, the above were stretching it!)  I edited the two pics on right because I don't have the original source.  Another reason for not doing a whole post.
I am in LOVE with this sea horse.  The colors are so vibrant and simple.  I need to make another one for my house.  I have no idea where to put it, but have no fear, I will find one!  Chevron wrapping paper (which I need for another project and I have been SEARCHING for (and even bought fabric, and wouldn't you know it...Target.  Clearance!  YES!) and stationary which I already had!

These next two were a favorite of mine to finish.  I love the art & color in them.  I thought for sure I'd be painting those "pretty" gold frames.  But after deciding what to do with the mats (because they HAD to be painted) I thought the gold would be best.  I am soooo glad I did.  I LOVE them as well.  Again, I don't have the original source, so I didn't feel right doing a whole post with pictures posted again and again of something I can't credit.  I did have to get their artwork blown up $.50 for each piece.  I had to give you a before close up of the beautiful mats!  The painted mats are a little distorted only in the picture thanks to editing!
The Top mat I painted white and the bottom one some aqua/turquoise I had laying around!
Here is the Salvation Army loot after:


Then there was the 9 blue canvases.  $15.42 for 9 sqft of art!  A STEAL!

And the "Where's the Beef Beach" post about this sign: Which cost a whopping $7.50
Lastly there was yesterdays post about Coral for $18.00.
The big HUGE total for 20 pieces of beach house art: $68.67!  I challenge you to do match that.  Seriously, I'd love to see what you create.  I have some very talented new followers!

I'm linking up with Coastal Charm Savvy Southern Style , The Thrifty Home, & House of Hepworths

Thursday, September 27, 2012

Where's the Beach?

More beach house art.  I told you I was filling this house with new art.  Well at least seeing what I could do in 1 week.

When searching for artwork and ideas for the beach house I found this image on Pinterest, but originally from here:

I love the blues, love the letters (I'm from the south, we'll put letters or a monogram on anything that stays still long enough), and the worn wood look.  I wasn't really sure how to recreate it without buying anything.  My goal has been big impact low cost.  Isn't everybodys?

I got the letters at Michaels ($1.49ea) They were the cheapest letters they had.  I was using my coupon for the canvases and they don't let you use more than 1.  Boo.

I had a piece of 1/4" luan board and blue paint.  I wanted to make it small so that it could fit almost anywhere in the house.  Even above a door jam or window.

                                                  Here is where I started (what I had):

 I cut the wood (yup, used the jig saw mom!) and sanded down the rough edges.  Gave it a quick coat of Sherwin-Williams Blue Reef (trying not to add too many different shades of "sea")  Same color I used on the calendar canvases.
                                                         Primed & painted the letters:

Then I used some brown Sherwin-Williams paint to age/distress the letters and arrow.
                                                Hot glued the letters on and...

Stapled some twine to the back to hang it from.  Easy peasy $7.50.  You couldn't buy this sign for anywhere near $30 in a gift store at the beach!  I still have 2 sets of art to finish...mom comes today for the pick up!

Linking up with Coastal Charm , A2Z,  Savvy Southern Style, The Thrifty HomeHouse of Hepworths, & Tatertots & Jello

Monday, September 24, 2012

Weekend Wrap Up-Artwork

I promised you (well at least I promised my gma & mom) on Friday some completed artwork today.

Big wall, over the couch art.  6+sq ft for $12.00.  It is super hard to find over the couch art.  I know this because I am currently looking for some!  I find it all so...so...expected.

So here is some that is hopefully unexpected and won't break the bank.
What you need: 6 12x12 canvas (7 pack from Michaels $19.99-40% off coupon= $12), 1 old calendar, 1 pail sample paint (Sherwin-Williams Blue Reef), spray adhesive, and mod podge.  Of course you will need a paint brush or 2 and if you are lucky like me you'll get help from a super cute 3yo assistant!

The calendar I used was from 2000.  There wasn't much on it.  Except my first & only Bay to Breakers,  my interview in Boston, my brothers wedding, & my last day in San Fran.  It was a good year!  The calendar is a staple gift every year (thanks Nina).  12 months of beautiful artwork and yummy recipes (of which I have only tried a few?!)
 If you can find some conch, here is a recipe for conch burgers!  Mmmmmm (But really, I love the colors on this month)


After trimming off the white edges, we (my assistant & I) painted the edges of 9 canvases (3 will go elsewhere, but 9 would be a great number to use over your couch as well, giving you more artwork for only a few dollars more!)  We painted them with that sample paint I had from another project.

After that dried, I sprayed the backs of the calendar with some spray adhesive (already owned!) and applied them to the canvas.  It takes a few minutes to stick so you have a little time to peel back if you don't like your placement!  I then flipped them over and added some pressure from the under side to make sure it was secure.

I let that dry and my final step was to add some mod podge (already owned but will have to be added to the next project budget since we are now out!) for a little protection!

And that is how you repurpose an old calendar full of beautiful pictures and get 6+ (add spaces between the canvas) sq ft of over the couch art!  Easy!

What do you do with your old calendars?

Linking up with Coastal Charm , A2Z, & Savvy Southern Style

Monday, September 3, 2012

Dresser with a job

I gave you a sneak peek on a dresser I was working on here. My grandmother had this dresser in her basement and didn't need it anymore. She said it didn't work very well, so we thought we would keep it in our basement for tools and what not. Because we certainly didn't need another dresser...so my husband thinks.
Drawers
Then things changed in the bedroom. Eww, really, my mom reads this, get your mind out of the gutter. The hubs (who THOUGHT we didn't need another dresser, why oh why, were we going to keep this one?) got a flatscreen. The blue was not my color. And you know I couldn't leave it alone. So, I sanded
And, I actually liked what I was seeing...wood was painted green, was painted blue, so I was getting some great color and a little blue green mix! However, I kept going. I primed, because I believe in priming. (Almost) everything should be primed before painting.
I painted (I chose a nice neutral pale grey blue, since our master bedroom is still untouched, 1 year in!) I loved the paint. Valspar Ultra premiuim gloss, paint and primer in one. It was thick, went on SMOOTH, and was glossy but not TOO glossy. I really liked this paint and can't wait to use it on another project. This dresser was going to get lots of use, it needed to be glossy.
Then I didstressed it.
Hardware was the hardest part. I knew I wanted clear. I also knew that Hobby Lobby always has their knobs half off. I went to 2 different locations. Twice. They only had 1 knob....ugh...but I was excited to get this piece finished so I buckled and went to Home Depot. These knobs are nicer than the HL ones. Good thing because you can pay twice as much there!
The top
Ta-Da. Finally a new refresh! Which, I am sure, since we are "Refresh & Repurpose", that is what you were waiting for.
BUT....this dresser has a job....remember it was for the TV. It was the perfect size for the TV but not for the TV & the cable box.  Sooooooo.....
I pulled out the top drawer. Hubs cut the front off of the drawer itself and drilled 2 holes. One in the drawer and one in the back of the dresser (for cords). I attached the drawer front with two hinges. I also used a magnet so that it would stay shut, since those hinges will also get lots of use. I thought about painting the inside of that drawer for a fun pop of color, and I still might....one day. 

I don't know why I insisted on styling this for pics, because this is what she will look like in her daily life.
Or, if we are being totally honest, this:

 I love a Refresh & Repurpose. Hope you enjoyed as well! 

 I'm linking up with Beth at A2Z, as well as Coastal Charm, One Project Closer,  Savvy Southern StyleThe Thrifty HomeHouse of HepworthsMiss Mustard SeedTatertots & Jello, & Between Naps on the Porch. Check out some other great ideas!