I gave you a sneak peek on a dresser I was working on
here. My grandmother had this dresser in her basement and didn't need it anymore. She said it didn't work very well, so we thought we would keep it in our basement for tools and what not. Because we
certainly didn't need
another dresser...so my husband thinks.
Drawers
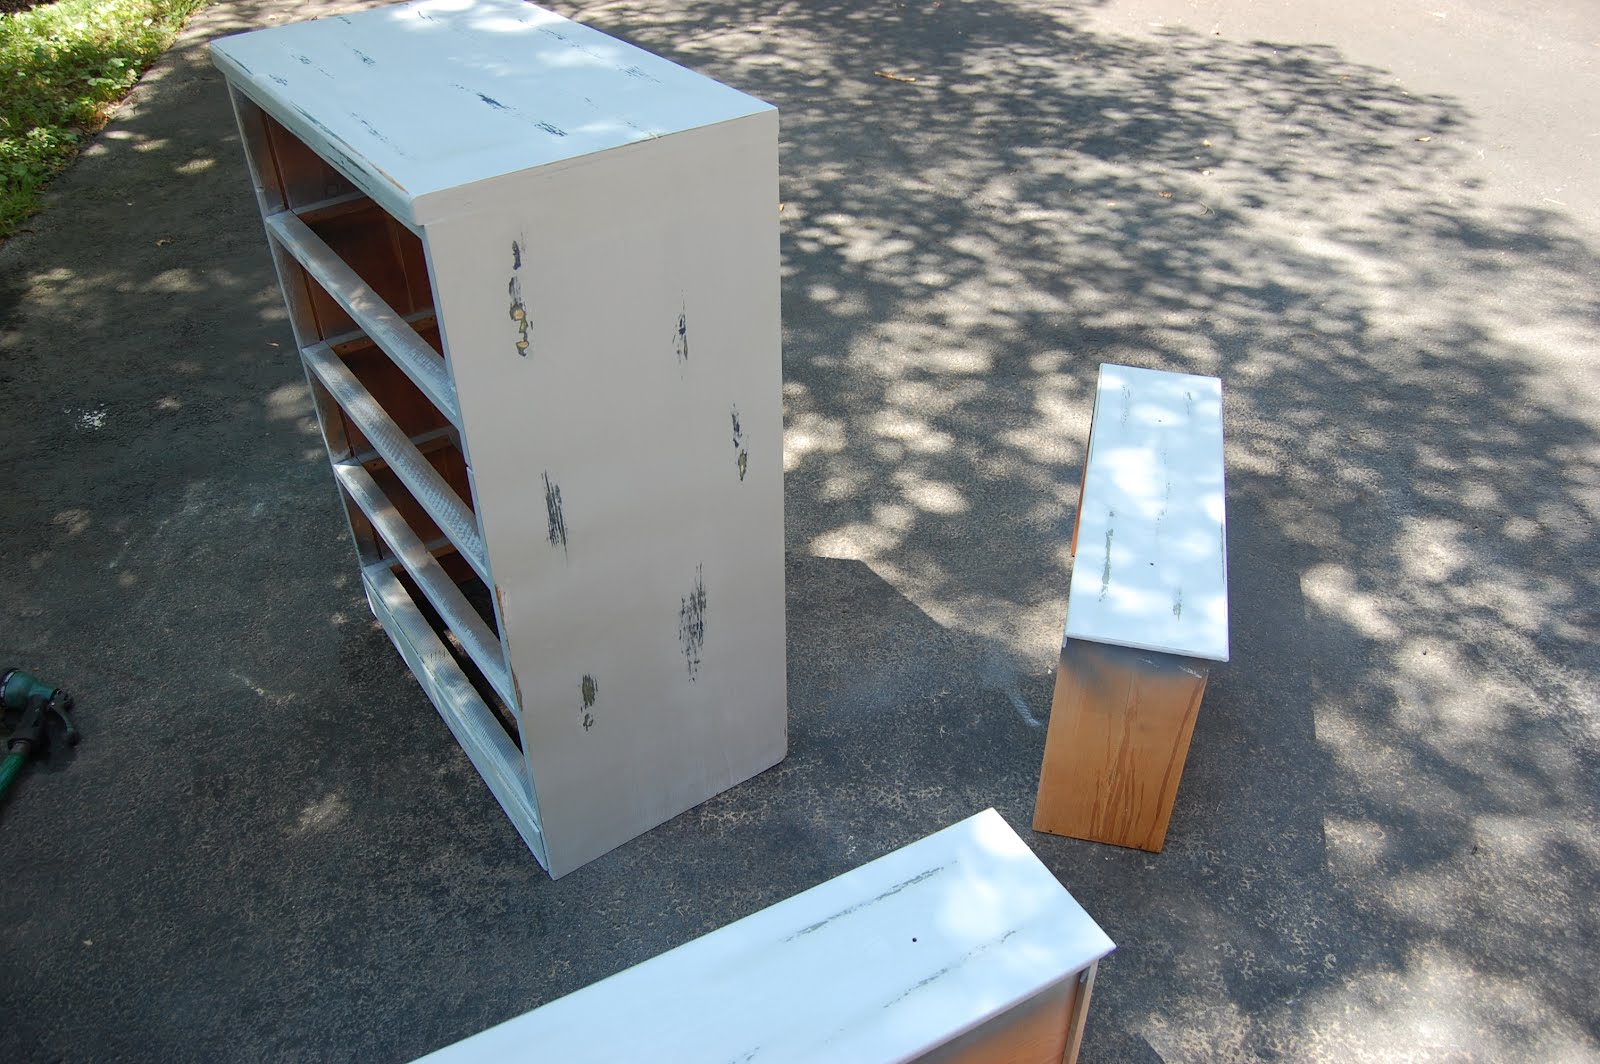
Then things changed in the bedroom. Eww, really, my mom reads this, get your mind out of the gutter. The hubs (who THOUGHT we didn't need another dresser, why oh why, were we going to keep this one?) got a flatscreen. The blue was not my color. And you know I couldn't leave it alone. So, I sanded
And, I actually liked what I was seeing...wood was painted green, was painted blue, so I was getting some great color and a little blue green mix! However, I kept going. I primed, because I believe in priming. (Almost) everything should be primed before painting.
I painted (I chose a nice neutral pale grey blue, since our master bedroom is still untouched, 1 year in!) I loved the paint. Valspar Ultra premiuim gloss, paint and primer in one. It was thick, went on SMOOTH, and was glossy but not TOO glossy. I really liked this paint and can't wait to use it on another project. This dresser was going to get lots of use, it needed to be glossy.
Then I didstressed it.
Hardware was the hardest part. I knew I wanted clear. I also knew that Hobby Lobby always has their knobs half off. I went to 2 different locations.
Twice. They only had 1 knob....ugh...but I was excited to get this piece finished so I buckled and went to Home Depot. These knobs are nicer than the HL ones. Good thing because you can pay twice as much there!
The top
Ta-Da. Finally a new refresh! Which, I am sure, since we are "Refresh & Repurpose", that is what you were waiting for.
BUT....this dresser has a job....remember it was for the TV. It was the perfect size for the TV but not for the TV & the cable box. Sooooooo.....
I pulled out the top drawer. Hubs cut the front off of the drawer itself and drilled 2 holes. One in the drawer and one in the back of the dresser (for cords). I attached the drawer front with two hinges. I also used a magnet so that it would stay shut, since those hinges will also get lots of use. I thought about painting the inside of that drawer for a fun pop of color, and I still might....one day.
I don't know why I insisted on styling this for pics, because this is what she will look like in her daily life.
Or, if we are being totally honest, this:
I love a Refresh & Repurpose. Hope you enjoyed as well!

.JPG)
.JPG)
.JPG)