Monday, January 16, 2012

A Nursery Sneak Peek..Gallery Wall

The nursery has a lot of details so I will make a week of it and on Friday you can see the whole room in all it's glory. Of course, that's pretty scary because it means a lot of pressure for me. You see, the room is not quite finished. Almost, but almost doesn't count.

And I'd rather do it this way so the reveal isn't too wordy.

I am so proud of this wall. Gallery walls scare me because I feel like you are married to them. All those holes in the wall. What if you don't like it. Then it's a lot of work to repair your wall....ugh. No thanks.

When I found out we were having a girl, I wanted to do paper dolls a la Erika at Urban Grace Interiors
What's not to love?! I wanted to do them myself, but wasn't sure how to do them and change them up a bit without directly coping them.

So the plan changed to a gallery wall when we went to the Outer Banks for Labor Day and found an old Peter Rabbit book. First, I guess I should explain the Peter Rabbit connection. The furniture that is used in the nursery and a few pieces in the boys room was my grandmothers, and first her sisters! Their childhood room was called Peter Rabbits room. The furniture became Peter Rabbits furniture. So once we found the book, and decided on a gallery wall, I ran with the Peter Rabbit theme. (I love a theme. It seems to make things easier?)

Then I had to find some other inspiration. I didn't want all pictures. I wanted different textures, sizes, colors, etc. So to pinterest I went!

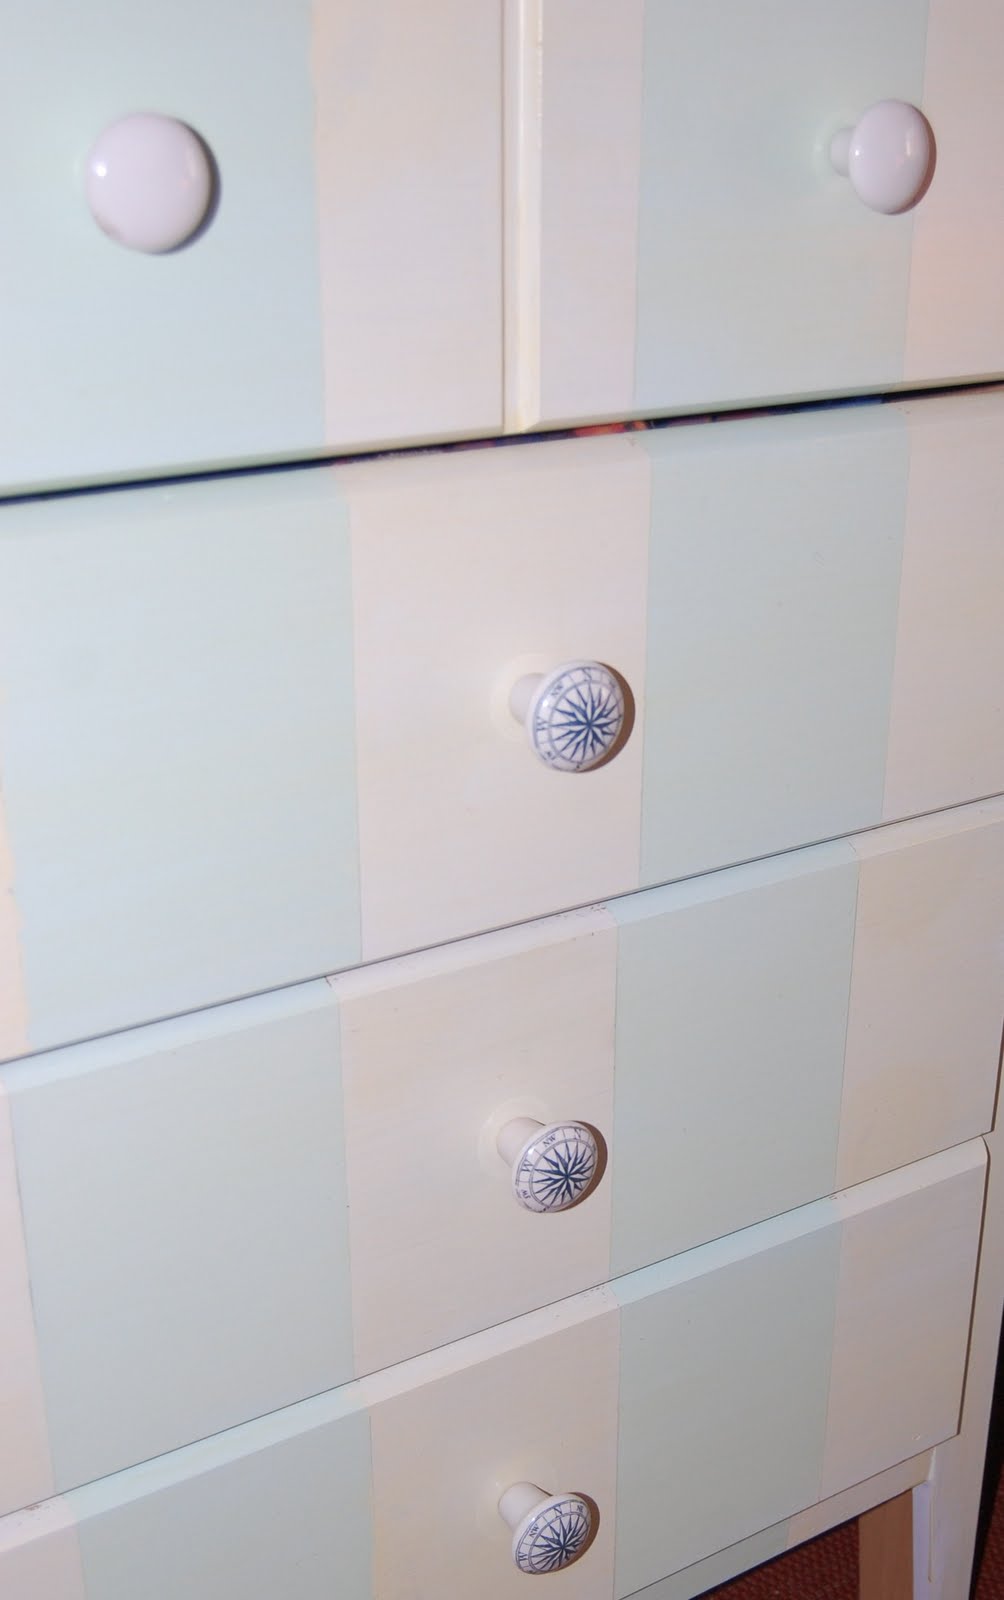
Once I got some inspiration I headed to the Salvation Army for some frames. Remember this post about some frames I found? Since I wanted different textures sizes etc for the artwork, I decided I would do that for the frames too. Which made shopping at the Salvation Army easy. I also decided that the color would be the thing that made them uniform.

And then I showed you the frames in progress. Some primer and $3 gold craft paint.

Here it is all finished.
Pictures 1 & 2 were inspired by this:
For some reason it's not letting me open the original site? I took a guess as to what it actually is, but I thought I would combine silhouettes and the boys artwork, so it was a project for them and something they did just for her. These two pictures consist of a $3 Walmart frame, a $2 Salvation Army frame, and 2 pieces of cardstock for $1.

Pictures 3 & 4 are the pages from the Peter Rabbit book. Two $3 frames from Salvation Army.

Picture 5 is a cross stitch I did years ago (I believe in high school) and a $1 wooden frame from Michales.

#6 is just a resin C from Ben Franklin. $1.

#7 is a Wedgewood plate from the set we were given from Chads grandmother when Q was born.
Image found here. So glad we found a great use for it. I know I should have, but there was no way, I was going to give my toddler some Wedgewood china to eat off of!

#8 was inspired by this:
Found on Pinterest but originally from here
It was super simple to do. I got a $1 embroidery hoop from Ben Franklin and used some fabric & thread I already had. I also used iron on tape to keep things from shifting while I sewed. I really think it's cute.

Picture #9 was inspired by this bunny bunting
Again, found on Pinterest but originally from here. I even used the same bunnies for a template. I made five different sizes. One for each member of our family. A $2 Salvation Army frame, $1 for 2 pieces of cardstock, and $1 for a package of pom poms. I don't know how I got this final product from the bunting. But I guess that is why it is called inspiration!

Picture 10 is one of my favorites. I love toile print. I saw this paper at Hobby Lobby and new I wanted to use it. I was originally going to use it for the five bunnies but it wasn't working out. Once I started to look at it I noticed it had two little boys and a little girl playing ring around the rosey, with a dog and a mom watching. Two little boys and a little girl!! $1 Salvation Army frame and a piece of scrapbook paper! Score!

Picture 11 is a Michaels frame I already had, some linen fabric (you'll see more of that soon) as a mat, and two pages from another antique Peter Rabbit book.

There you have it. A gallery wall for under $25 and I got to conquer my irrational fear laziness of completing one! And I'm sure way more details than you ever wanted to know!

For previous nursery post see these Pink,Frames, Sneak Peek, Gallery Wall in progress

Check back tomorrow night for Tuesdays reveal!

Thursday, January 12, 2012

Curtains!

The boys curtains went up, which seems like it took forever. However, it took me much longer to write this post! I shared the inspiration in this first post about their room.

First I knew I wanted white curtains. Then I found these:
Source via Pinterest
I have been using navy as an accent so I knew I wanted to use navy at the bottom and not red. And they would be hanging on a red wall. Curtains are from World Market. Found some navy fabric at JoAnns Fabric and my seamstress amazing mother, measured, cut and hemmed them!

Then I found this curtain rod
Source
So creative! Kind of nautical. Seemed so easy! Easy until I went to execute the design. Aunt Kelly and I went to Lowes to pick up all our plumbing supplies. Since we didn't have any directions, we were going off the picture and the grommet holes on the curtains. Things were going well until we picked up the rod itself. It weighed at least 10lbs (for the length of 2). We went and looked at anchors. Big, strong, massive wall anchors that were going to be strong enough to hold a four and two year old swinging on them! Then we asked an associate where the wall anchors were if there was another solution for the rod. He suggested electrical conduit. This was great because the rod was lighter and CHEAPER!! Woot!

And then we went to put them up. One of the elbows was missing some thread. Ugh....I have two small children and I was pregnant and now I was having to go back to Lowes at Christmas.....Ahhhhhh!! But I was so excited about these curtains and how they would look! I will say that hanging them was a lot more work than regular rods (heavier and they have to be done at once, not a braket at a time), they were about $30 for each window (about the same as a regular curtain rod) and curtains can not be washed as easily. You will have to take off the rod itself, unless you got curtains that tie. But I was worried that would not fit my look! Thanks to the hubs and his muscles for the hanging part of this project!

I think they look awesome, if I do say so myself!
Soon I'll get some shelves up and a final room reveal!! I know, I know, you can't wait! Believe me, I can't wait to have it done!

Other Boys room projects:
Inspiration
Nautical Flags
Artwork
A Dresser
A Dresser Reveal

Tuesday, January 10, 2012

Nautical Dresser

Remember this post.
Well, I finally finished it, filled it up, and there it sat. Waiting for this post.
I didn't sand it and I should have. Normally I would have, but for it's purpose, I didn't see the need. But I did prime it, taped out my stripes and got to work.
I really liked the rope knobs on the inspiration piece and wasn't sure if they were going to be "too much". Now, I wish I could have found them. I think I would have really liked them. Instead I found some other ones, but was still afraid they were going to be "too much", so I went with the bottom three drawers. Thinking now I would like to find some more for the top two drawers!!
B has been enjoying his "new dresser" and his big brother is happy he no longer has to share a dresser. Why do they care? They are 4 & 2 and they are boys!!

It wasn't my best redo, but I like it and I haven't heard the boys critique it...yet. I couldn't decide if I wanted to distress it or not? Time was running out. Little Miss was on her way and I needed to get her room done too! Maybe one day, I'll distress it?!

If I could just get two shelfs up in their room, it would be ready for a reveal. I have them, they just need to go up. Maybe one day, I'll get those up, but for now I just seem to be adding to the ole to do list!

Wednesday, January 4, 2012

Monday, December 26, 2011

Passing down the hat

The boys each wore this hat for their hospital newborn pictures.
I could have left it alone and let C wear it but I just couldn't do that. I just had to add one more thing to my to do nesting list.
So I decided to add some riboon. I wasn't sure how I wanted to add it. So I played, for longer than I care to admit, with a hat and some ribbon.
I ended up with a simple little flower.
And that just wasn't enough. So in that case I added one more thing to the Hobby Lobby list. Beads.
The hat is still quite simple and just girly enough. And I have one happy husband that his baby girl will also have herself a pirate hat!
And that my friends is how to refresh your boys hat!

Thursday, December 1, 2011

A Nursery Sneak Peek

A sneak peak of the nursery for you! Some of you have been waiting patiently for details. And since it is not done yet, I really don't want to share much. You know I don't like a half done room. Although, it's coming together and will be done soon, I'm hoping these will hold you over?!

Curtains (made with love by grandma)
Closet Knobs
Some Artwork
Are you as ready as I am for the big reveal?!